Personal History Debate:
How much is TOO MUCH?
None is TOO LITTLE
| personal_history_debate.pdf |
| how_exactly_to_do_decide_how_to_lay_out_the_page.pdf |
KEY = THINK FIRST !!
- What do you want your FINISHED history to look like?
- What is realistic for you?
- The key is “Finished History”. You and your posterity will not benefit from grand good intentions.
Why should I write a personal history?
Reasons for recording our history (from the prophets)
We must personally buy into this as a goal or it won’t be completed.
Back to reasons—“What’s in it for us?”
Reasons for recording our history (from the prophets)
- Record of significant experiences
- “More likely to keep the Lord in remembrance”
- Respect for God—record blessings, official acts performed in His Name, fulfillment of prophesy
- Record for our descendants –Hand of God blessing our family.
We must personally buy into this as a goal or it won’t be completed.
Back to reasons—“What’s in it for us?”
- Understand ourselves better— our trials and our growth AND OUR POTENTIAL!
- Share our testimony and lessons of life with others.
- Help us remember—it’s so easy to forget even important things.
- Create a PLACE for things that mean the most to us.
- Study 1 Nephi:6
ADVANCED PREPARATION:
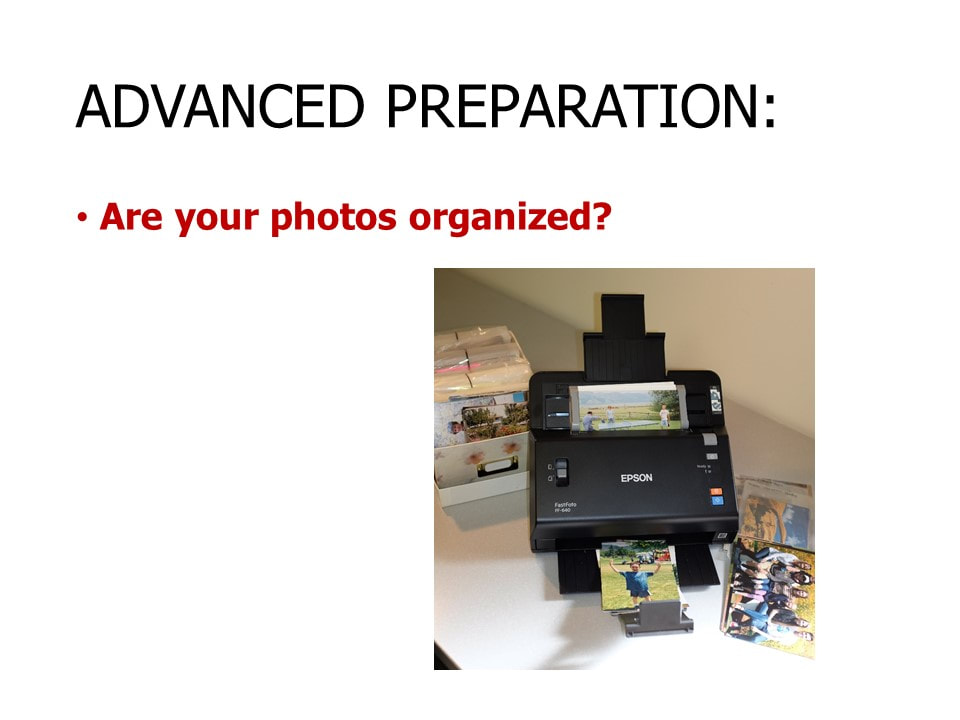
Are your photos organized? If not, this is most likely the best place for you to start. Even if you never get past organizing your photos, this will give a reasonably good representation of your life. Digitize all of your photos, but realize that the majority of people will never look at those digital files unless you do something with them. A simple photo album, “Chatbook” or incorporating photos into your history will have much more meaning. Identify everyone in your photos, especially if individuals in the photos are known only to you.
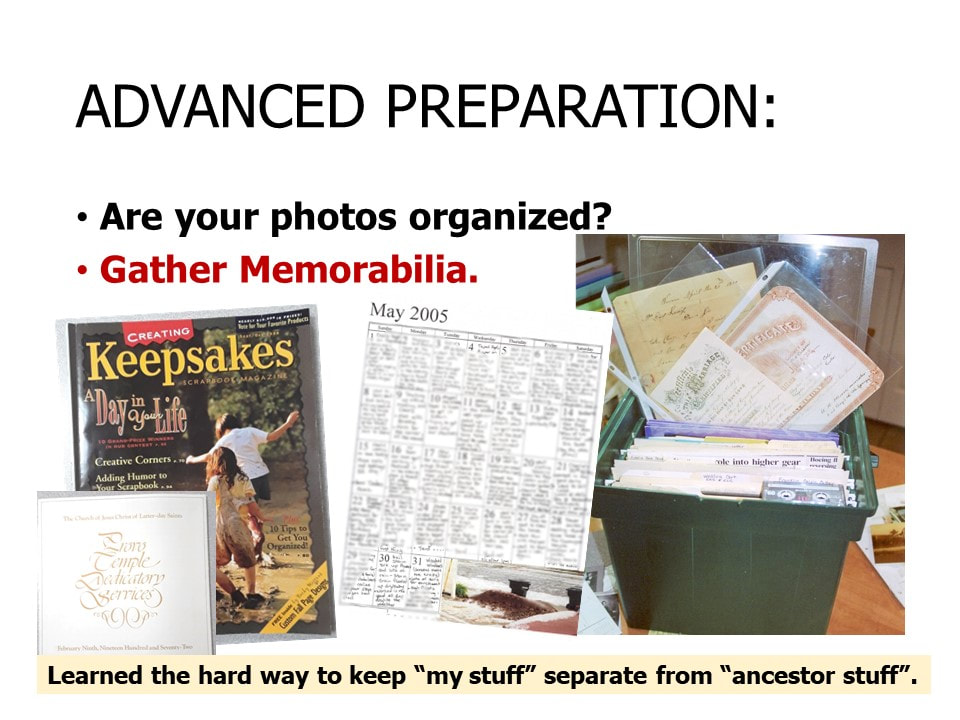
Gather Memorabilia: Gathering and scanning or photographing your special memorabilia is a logical next project after organizing your photos.
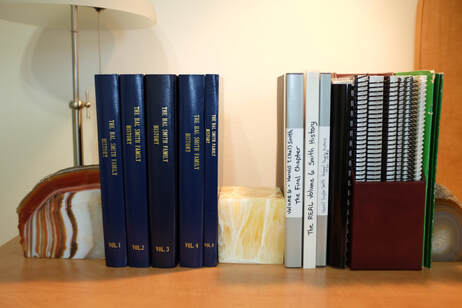
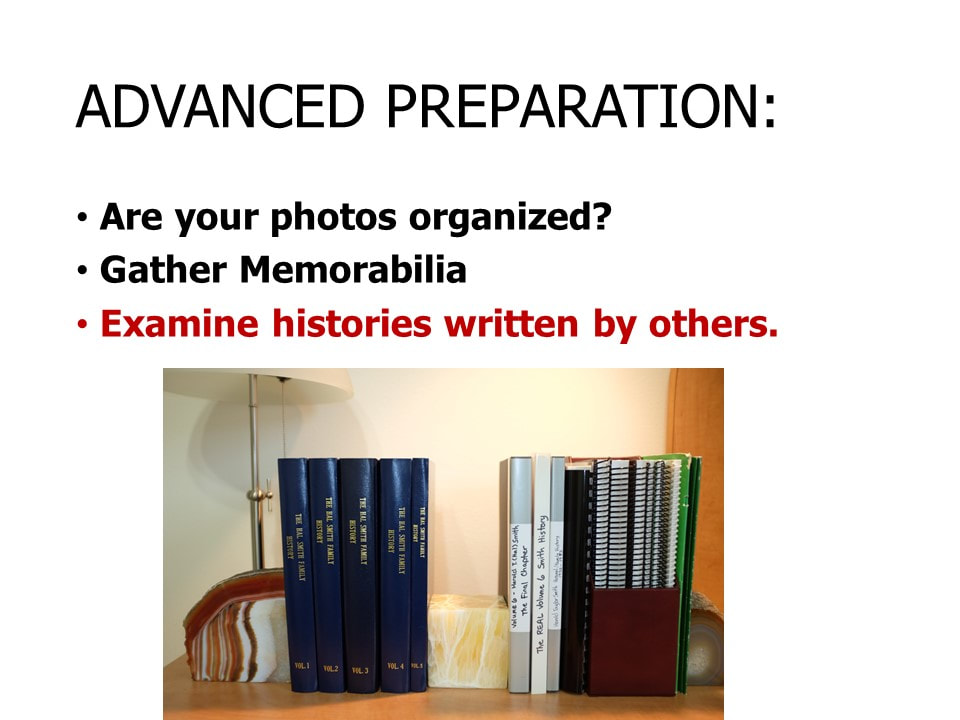
Examine histories written by others. What do you like about their style? What don’t you like? What do you wish they had added? What do you think they should have left out? Ask yourself, “What would your descendants wish you had written?”
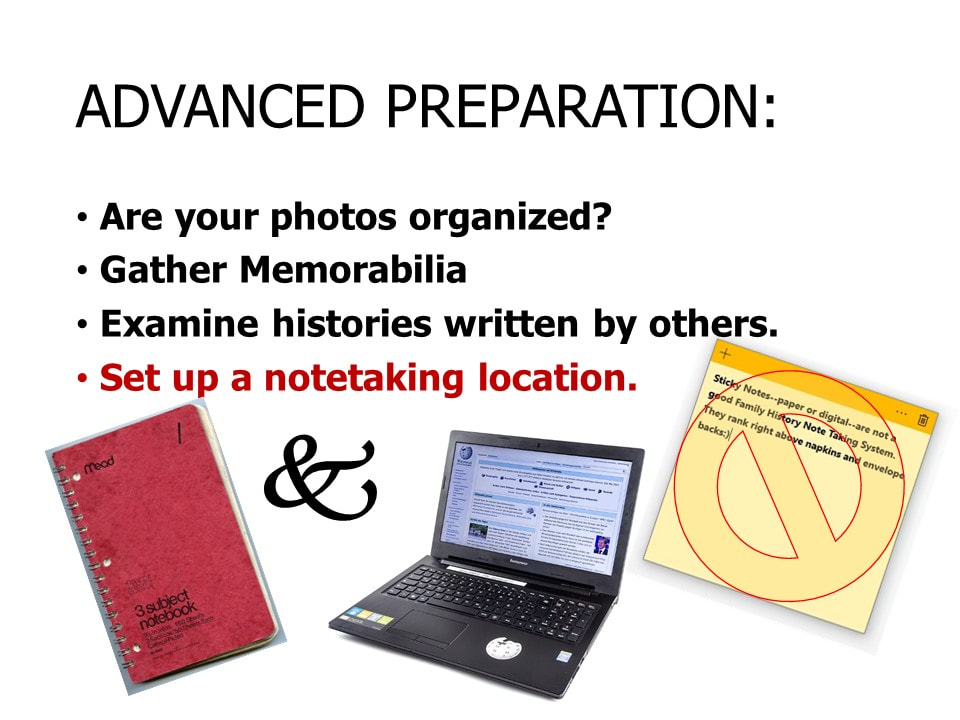
Set up a notetaking location to record random memories that come back to you. Dividing the notebook or document by decade, years, or key categories right from the start will help you keep your notes organized. Use this notebook to make note of oft repeated family stories. What stories are told every Christmas or every time you are camping or at a family reunion? What stories do you tell about yourself?
Write notes about things that come to mind…as they come to mind. Editing will happen later. Make your notes detailed enough that you will be able to recall what you were thinking, but don’t worry about writing complete sentences or every detail.
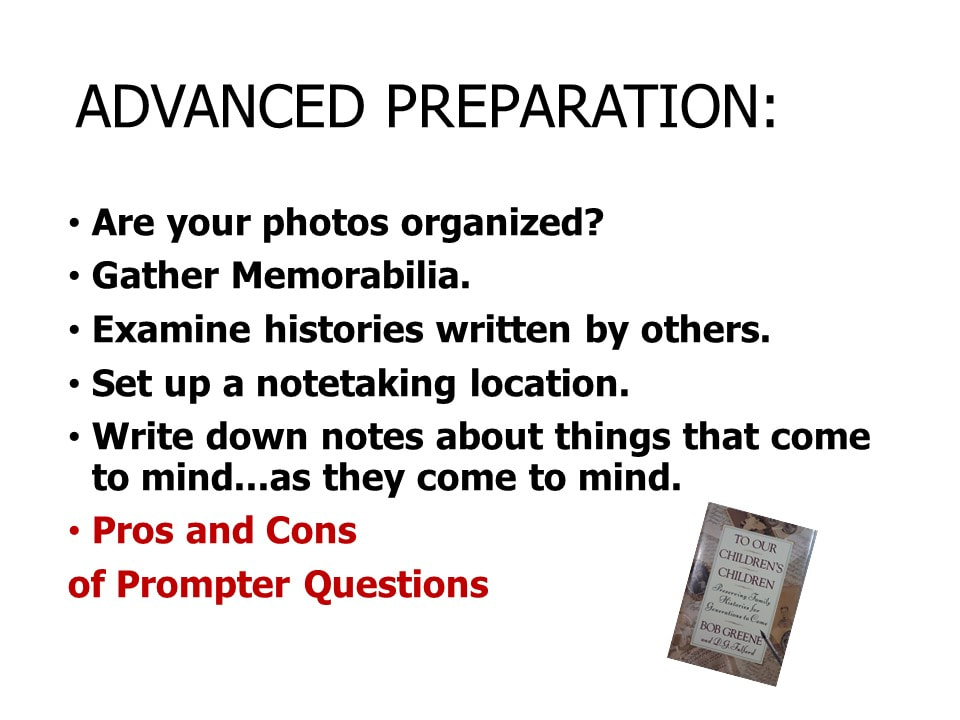
There are pros and cons to using prepared lists of prompter questions. They can get you moving, but they can also send you on unimportant tangents. If I were to recommend a list it would be the list of interview questions at the end of this article: https://www.preservingtime.org/interviews.html .
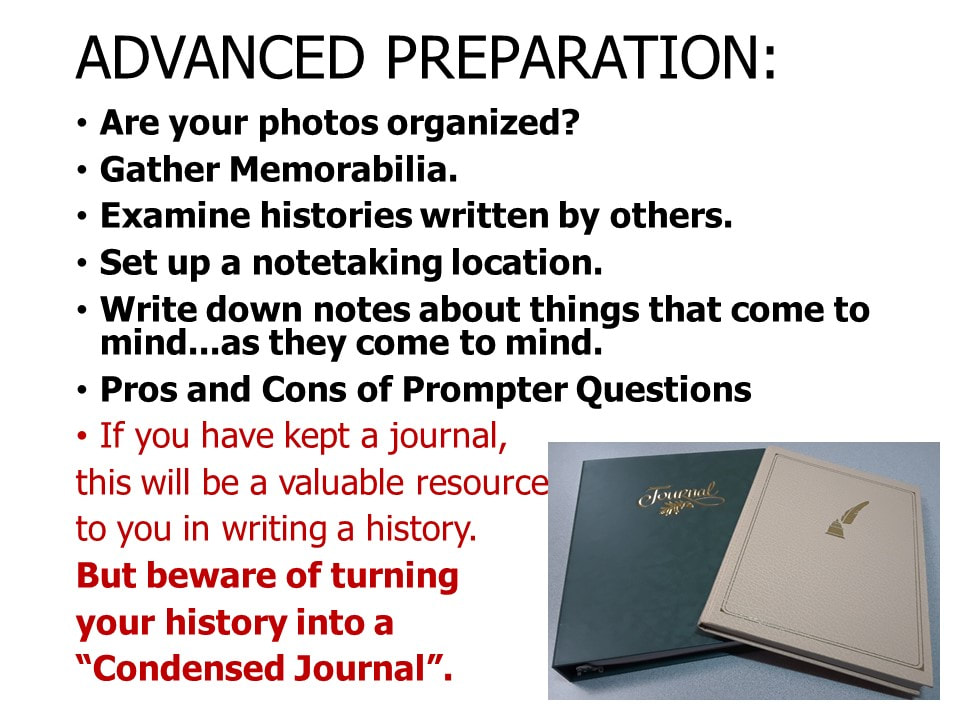
If you have kept a journal, this will be a valuable resource to you in writing a history. But beware of turning your history into a “Condensed Journal”.
Tips for Preparing Your History:
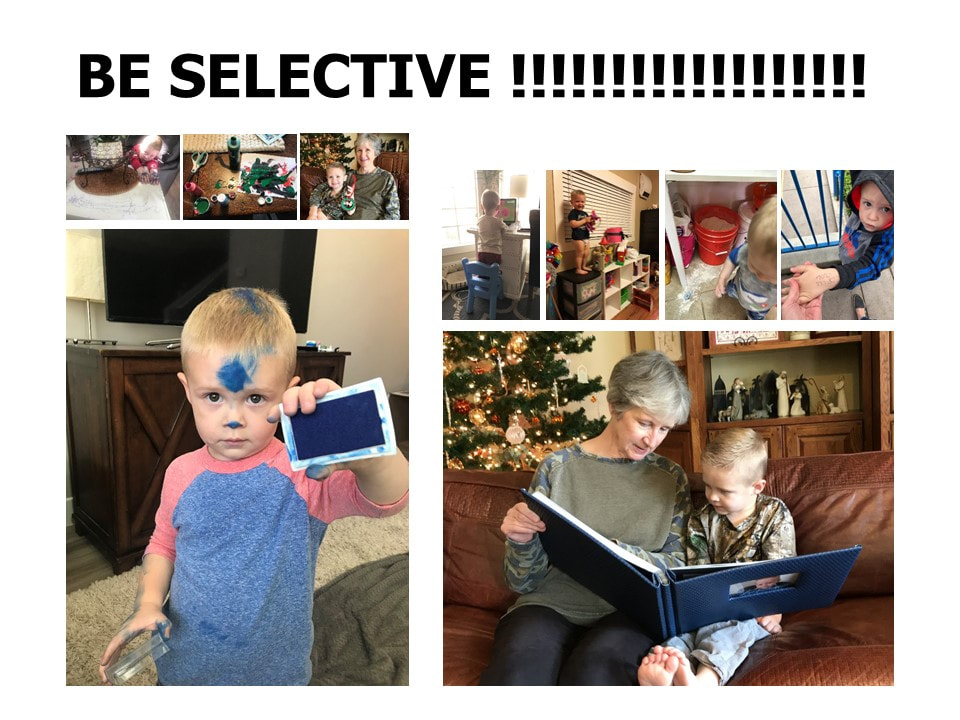
- Establish a format first. BE SELECTIVE! Key = THINK FIRST!
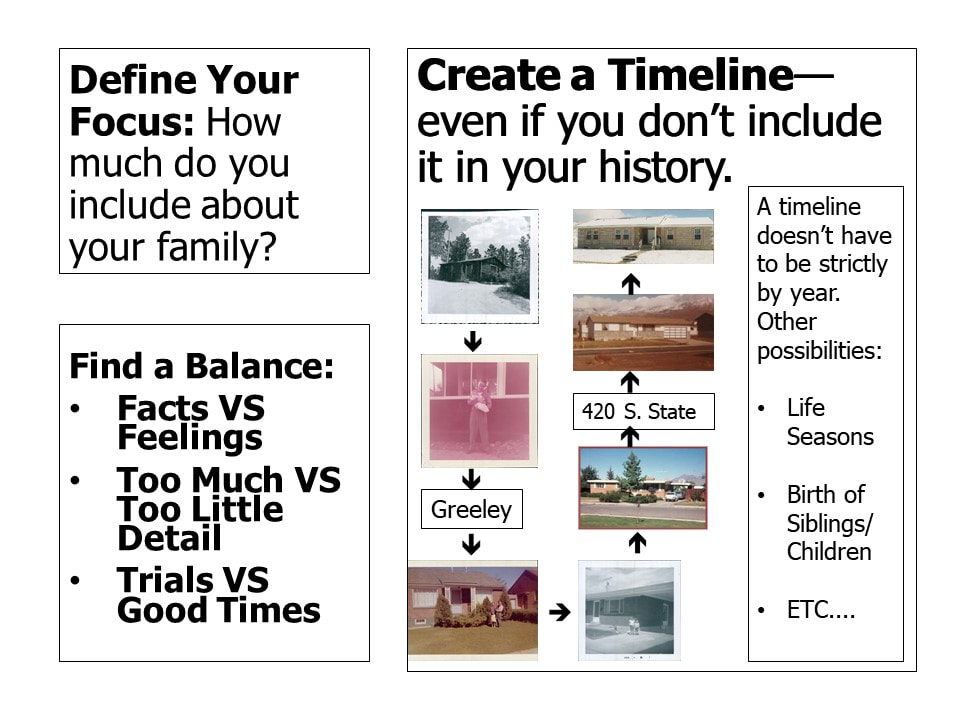
- Writing about significant relationships will be part of your history. Consider: Do I want this to be just MY history or a FAMILY history? Define your focus.
- Create a timeline to help you keep thing straight. You might consider including the timeline in your history as a way to provide context to other content. This would include less interesting facts without going into detail.
- You may also want to consider adding an “appendix” with copies of important documents.
- Continue to use your note taking “notebook” as you write. Leave yourself notes about where you need to pick up again, so that you are not continually starting your project over and over.
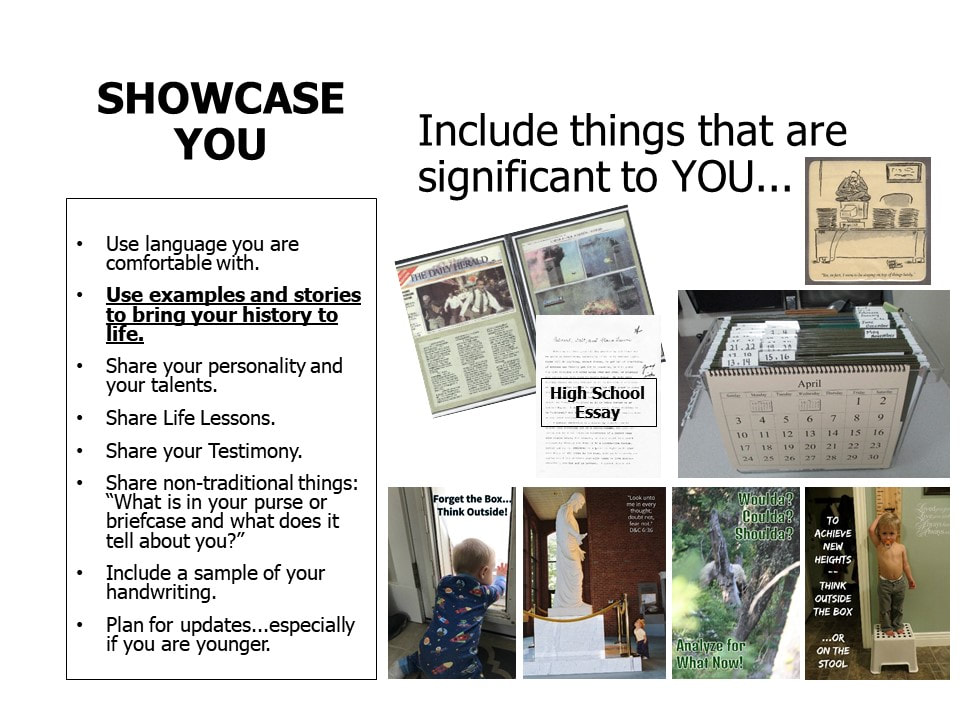
- Use language that is “YOU”.
- Share facts AND feelings. Find a balance between too much and too little detail. (Ridge stories vs. everything bad that Ridge has ever done.) Be careful with ANYTHING negative you include.
- Use examples and stories to make your history come to life. Share stories of trials and things you have overcome. Share joys and blessings as well. Share the lessons of life you have learned. Share stories that show your personality and talents. Share your testimony. Share non-traditional things. Example: what’s in your purse or briefcase and what that tells about you?
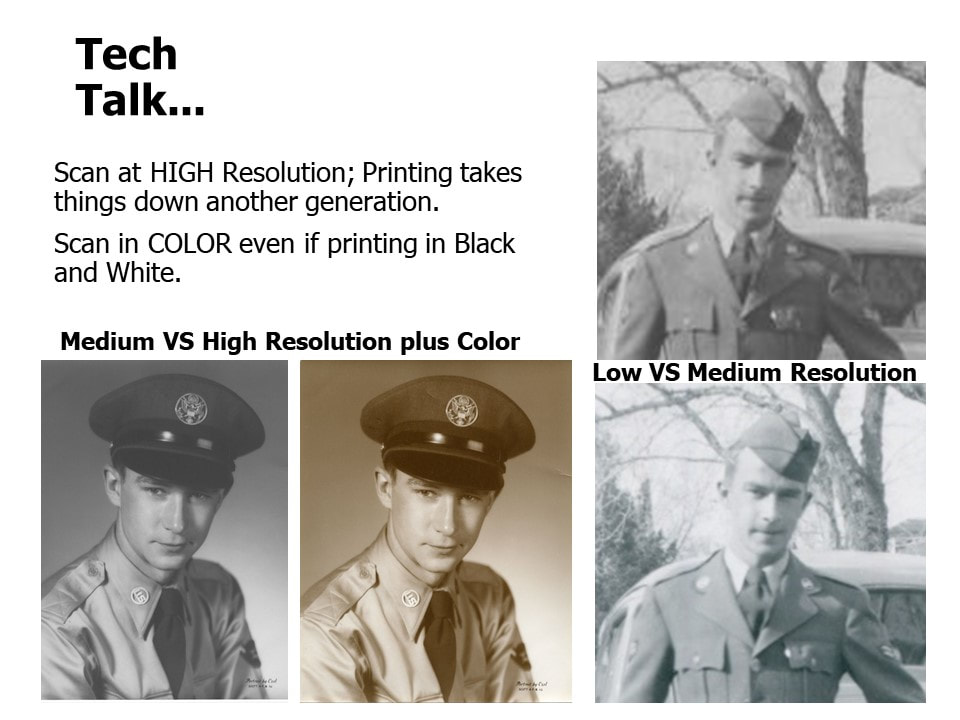
- Include things that are significant to you—Photos, cartoons, family traditions, school work, certificates etc. Insert photos at high enough resolution that they will print clearly.
- Include a sample of your handwriting (hand written letter or recipe are examples)
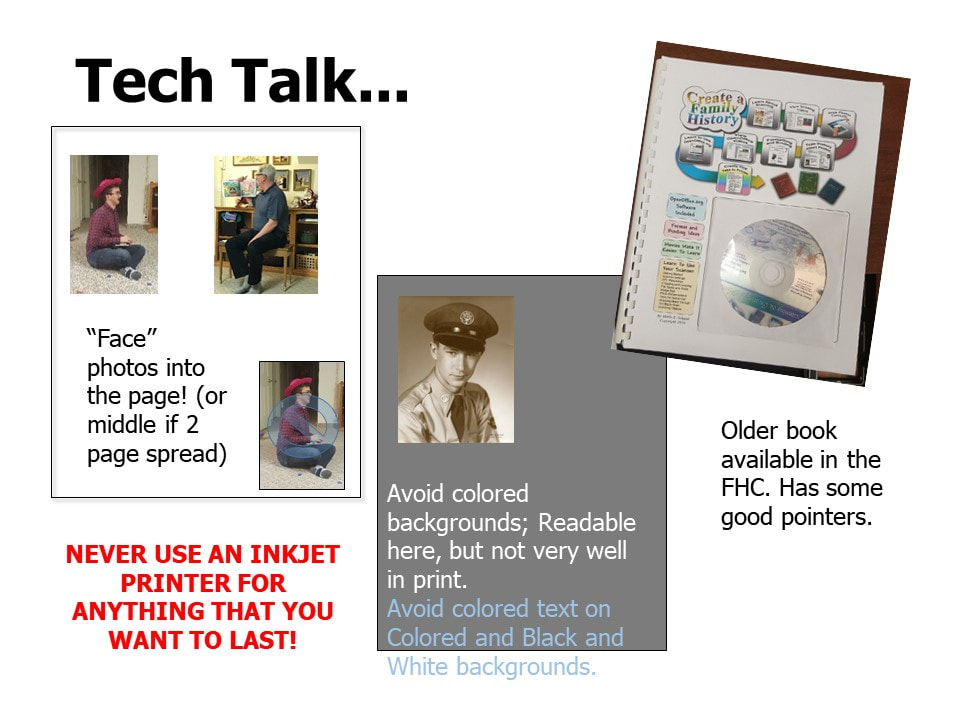
- Make sure your format is easily readable. Colored print on a light background or most prints on a dark background are very hard to read.
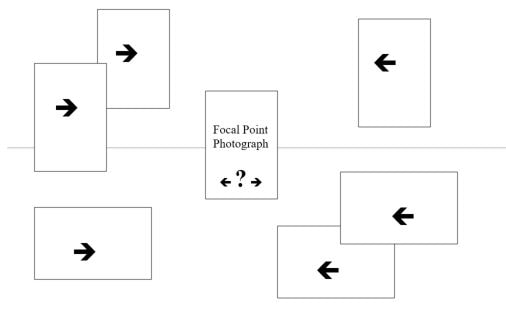
- When including photographs, pages will look MUCH better if the eyes of the individuals in the photos are looking into the middle of the page or two page spread. For photos without individuals, make sure the focal point of the photo balances with the rest of the page.
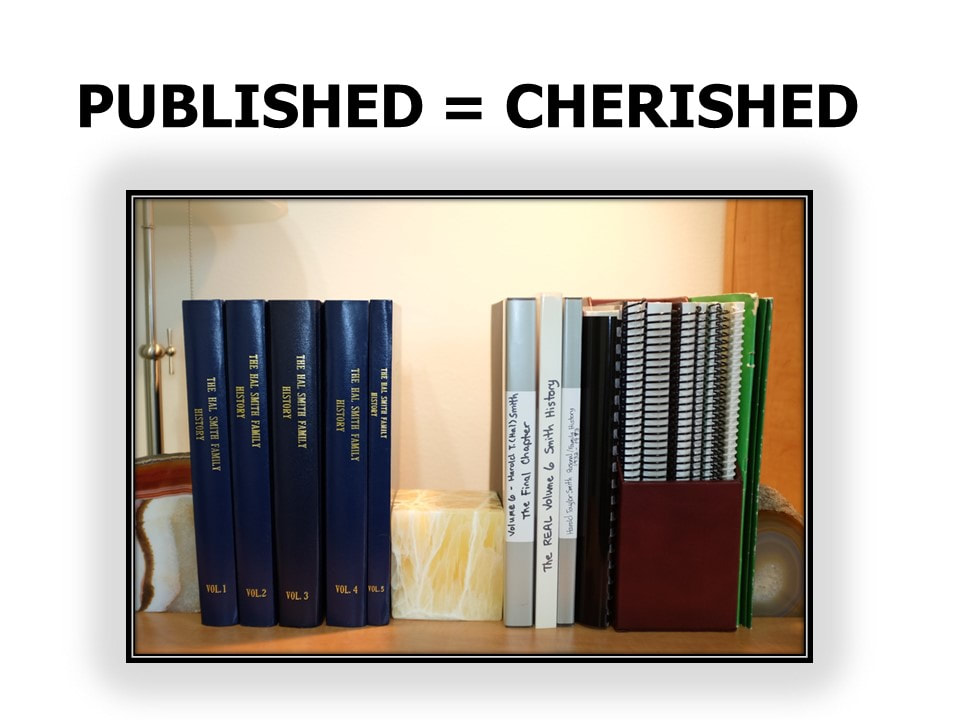
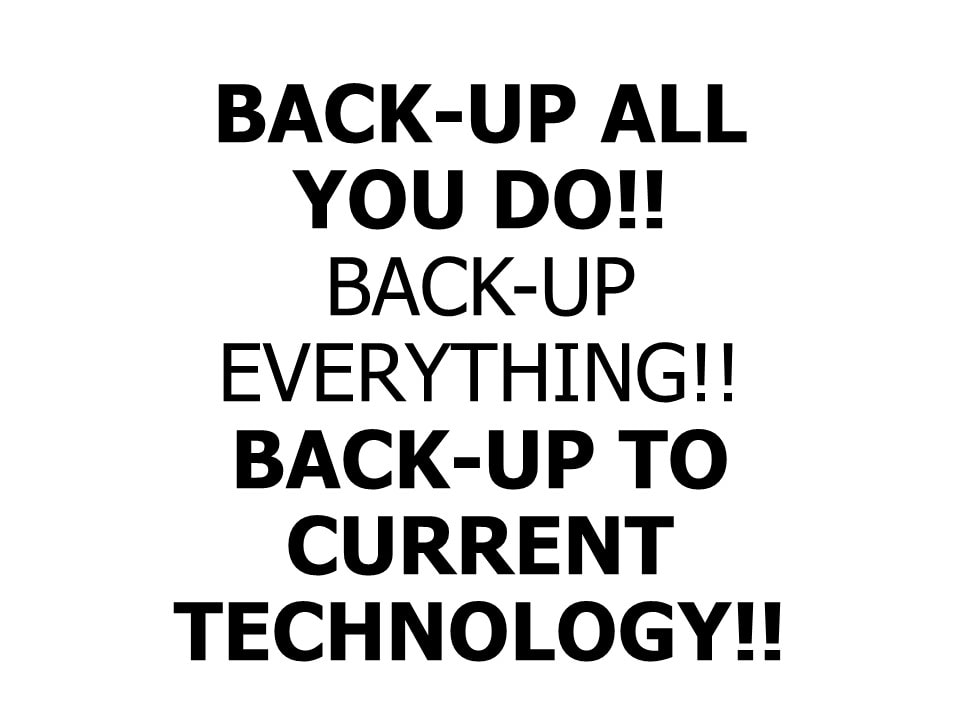
- Realize that most “digital only” histories will not be read and preserved like printed copies will. More information on publishing histories: Introduction to On-Demand Publishing of Family Histories-- https://www.preservingtime.org/2019-fair-handouts.html
- If self-publishing, use good quality paper and only print on one side. Use a laser printer (or quality copy machine). Inkjet printers should NEVER be used for anything that you want to last.
- Plan for updates…especially if you are younger.
- Set aside (regular) time to write your history. Don’t try to start at the beginning and write to the end. Write sections as the mood or inspiration strikes you.
This was written for scrapbooking, but applies equally to writing histories.
| how_exactly_to_do_decide_how_to_lay_out_the_page.pdf |
How exactly to do decide how to lay out the page?
- Decide which photos to include on a page.
- Set your focal point picture in the middle of your work area. A focal point picture will normally be better than the rest of the pictures. A focal point could also be chosen to express strong emotion or important feelings.
- Divide your pictures into horizontal or vertical orientation.
- Divide each of these piles according to the direction the people are looking in the picture. If there are not people in the picture, divide according to the direction your eye is drawn through the picture. Hopefully at this point, possible layout positions will come into focus.
- Review which pictures are most important and which pictures need to be cropped or could be cropped. Will all of your chosen photographs fit on your page or pages? Are they important enough pictures to expand the spread to more pages? Do some of the pictures need to be eliminated? Are only small portions of the picture important?
- The eye is naturally drawn to the top right hand position on a page or two page spread. Depending on the orientation of the focal point photo, this may or may not work for positioning the focal point. Make sure the eye goes first to the focal point. This can be accomplished with matting, other details and/or making the picture larger than the rest. The eye should then be drawn through the rest of the items on the page. This can be accomplished by overlapping or having items touch each other and/or by color repetition.
